
Introduction
The Three.js Sprite class consists of a 2D surface always facing the camera, usually with a partially transparent texture.
Note that Sprite type objects cannot create shadows under the action of lighting.
Use of Sprites
It is common to use this class to lighten a 3D scene !
Indeed, the Sprite object is only composed of one face. This makes it much lighter for the processor than a real 3D model.
Sprite is therefore the best ally of an optimized Three.js application !
It is also possible to use this class to simulate a large number of particles, while maintaining maximum performance.
Here are some examples of using the Sprite class :
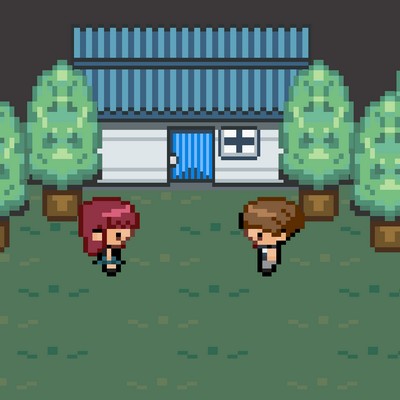
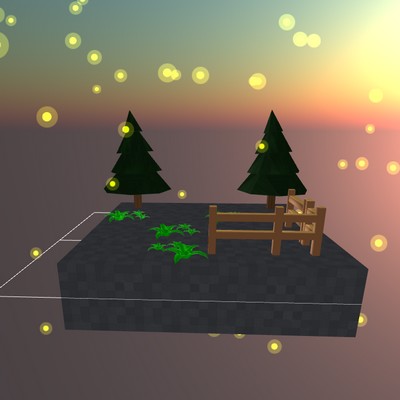
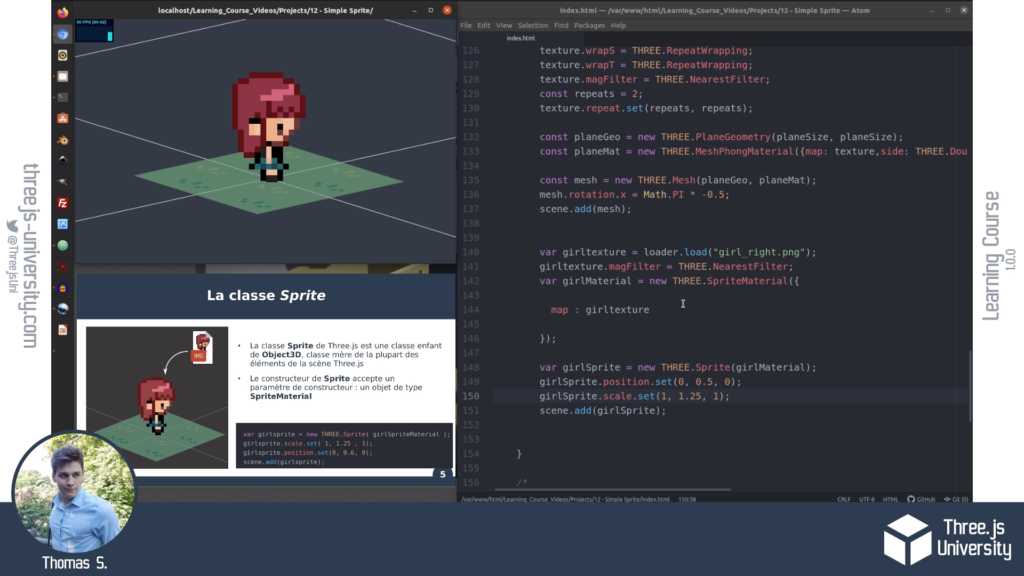
Our first Sprite
In this example, we will create a tree Sprite similar to those in the “Paper RPG 2D” example above.
Let’s start by loading the texture of our Sprite :
const loader = new THREE.TextureLoader();
var treetexture = loader.load( 'tree.png' );
treetexture.magFilter = THREE.NearestFilter;
Feel free to refresh your memory ! The previous chapter explains the use of textures :
Then, let’s create a SpriteMaterial and a Sprite :
var treematerial = new THREE.SpriteMaterial( { map: treetexture } );
var treesprite = new THREE.Sprite( treematerial );
The SpriteMaterial class instance, created from the loaded texture, is a special type of Material used for the creation of Sprite objects.
Then, let’s place our object in the scene :
treesprite.scale.set( 1, 2, 1);
treesprite.position.set(0, 1, 0);
scene.add(treesprite);
Optional – If you wish, we can add a floor under our tree :
//FLOOR - OPTIONAL
const texture = loader.load('ground1.png');
texture.wrapS = THREE.RepeatWrapping;
texture.wrapT = THREE.RepeatWrapping;
texture.magFilter = THREE.NearestFilter;
texture.repeat.set(2, 2);

const planeGeo = new THREE.PlaneGeometry(2, 2);
const planeMat = new THREE.MeshPhongMaterial({map: texture,side: THREE.DoubleSide});

const mesh = new THREE.Mesh(planeGeo, planeMat);
mesh.rotation.x = Math.PI * -0.5;
scene.add(mesh);
And that’s it, our pixel-art tree is ready !
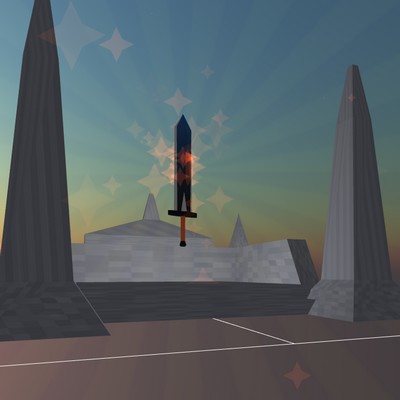
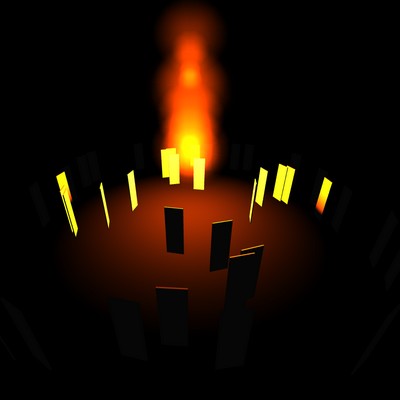
Create particles with the Sprite class
As explained above, it is also possible to create particles with the Sprite class.
Let’s create a simple Sprite particle :
var particleTexture = loader.load( 'firefly.png' );
var spriteMaterial = new THREE.SpriteMaterial( { map: particleTexture, transparent : true, opacity : 0.5, color: 0xffffff } );
particle.material.color.setRGB(255, 215,0 );

// sprite creation
particle = new THREE.Sprite( spriteMaterial );

particle.scale.set( 0.5, 0.5, 0.5 );
particle.position.set(0,1,0);
scene.add( particle );
Then, let’s put our object in rotation. In our main animation loop :
var delta = clock.getDelta();		//get delta time between two frames
var elapsed = clock.elapsedTime;	//get elapsed time

// ---------------- UPDATING MAIN OBJECTS POSITION  ----------------

particle.position.x = Math.sin(elapsed);
particle.position.z = Math.cos(elapsed);
particle.position.y = Math.cos(elapsed )/2 + 1;
Final result
And that’s it ! Here is the final look of our scene :
To go further in the use of particles, here is another example :
Feel free to download the complete Three.js University guide to progress even faster !
Find the details of the Sprite class, as well as several code examples in chapter 6 of the downloadable guide !
You can download the complete guide here :
In the next chapter, we will discover the loading of 3D models in the scene :
[…] 25 juillet 20214 août 2021 thomassifferlen Available in English […]
[…] Chapter 7 – Sprites and Particles in Three.JS – Three.JS University says: August 4, 2021 at 7:45 PM […]