
This chapter is the third part of the programming tutorial for our Tower Defense style game with Three.JS.
For a good start, I suggest you begin with the first part of our tutorial :
Introduction
In this new chapter, we will implement a Three.JS Raycaster system with the goal of putting in place mouse or tactile events :
Mouse and Tactile Events – Raycaster
The Global Variables
Let’s begin by creating some variables. We will use the latter to implement a Raycaster.
We use the Raycaster to select elements of the 3D universe with the mouse or a tactile screen.
In the file index.html, let’s create the following variables :
//Variables
[...]

// RAYCASTER
var raycaster;
var mouse         = new THREE.Vector2();
var clickableObjs   = new Array();

[...]
Let’s begin with the variable raycaster. It will contain an instance of the Three.JS Raycaster class; we will initialize it in the init function.
The mouse variable will be used to store the position of the click.
To finish, the structure Array clickableObjs will store all the 3D elements of the scene eligible to being targeted by the Raycaster.
Defining certain 3D objects eligible for targeting
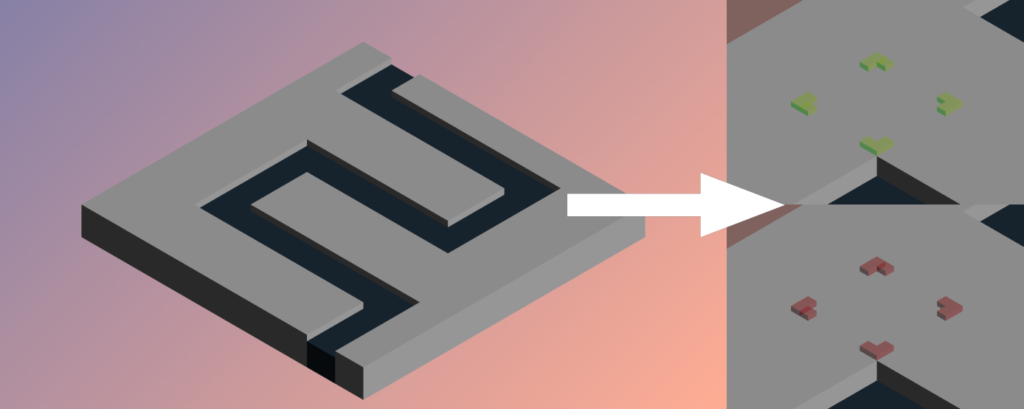
Let’s begin with the map.js file; it’s in the loadMap function that we will dynamically load the game map.
In our scene, we want to be able to select the 0 type blocks. To do this, let’s add these 3D objects to the list clickableObjs during their creation in the switch – case 0 .
It is also necessary to add a parameter in the definition of loadMap, so that we may use the variable clickableObjs in it.
export function loadMap(mapdata, scene, clickableObjs)
{
  [...]

  case 0:
      var tmpbloc = basic_cube.clone();
      tmpbloc.position.set(posx, 0, posy);
      scene.add(tmpbloc);
      // This element is targetable by Raycaster
      clickableObjs.push(tmpbloc);
  break;

  [...]
From now on, all the 3D objects of this type will be eligible for selection by the Raycaster.
Next, let’s modify the loadMap call in index.html consequently.
loadMap(map0_data, scene, clickableObjs);
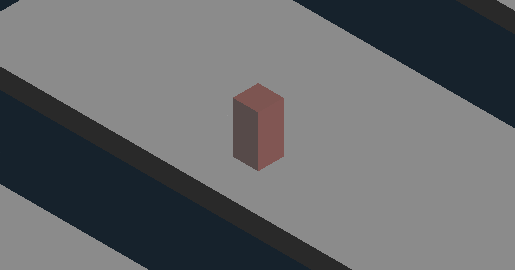
Creating a 3D mouse pointer
Let’s begin by creating a 3D cursor to help visualize the position of a click in our game map.
For this, in index.html, let’s create a cursor_cube global variable:
// Game objs
var cursor_cube = undefined;    // ThreeJS Mesh - RAYCASTER CURSOR
Next, let’s initialize this variable in the init function :
const cursor_material = new THREE.MeshLambertMaterial({ transparent : true , opacity : 0 , color : 0xc0392b});
const cursor_geometry = new THREE.BoxGeometry( 0.5, 4, 0.5 ); // height 4
cursor_cube = new THREE.Mesh( cursor_geometry, cursor_material );
scene.add(cursor_cube);
Optional – It is also possible to modelize a slightly more realistic 3D cursor. For this, you can use the tutorial below to import a 3D model into your application :
Implementing the Three.JS Raycaster
In the init function, let’s initialize our raycaster variable:
raycaster = new THREE.Raycaster();
When our Raycaster is ready, let’s continue with the implementation of JavaScript events.
The JavaScript events
Let’s begin by creating two JavaScript functions, onMouseDown and onMouseUp :
function onMouseUp(event)
{
    //code
}

function onMouseDown(event)
{
    //code
}
Next, in the init function let’s connect these two functions with the JavaScript events pointerdown and pointerup :
// ---------------- EVENTS ----------------
document.addEventListener( 'pointerdown', onMouseDown, false );
document.addEventListener( 'pointerup', onMouseUp, false );
Thus, the onMouseDown function will be called when the click of the mouse is pressed or when the finger touches the tactile screen, in contrast to the onMouseUp function, called during the release of the click pressure.
Let’s begin with the onMouseDown code, and capture the coordinates of the click in our mouse variable :
function onMouseDown(event)
{
    event.preventDefault();
    mouse.x = ( event.clientX / window.innerWidth ) * 2 - 1;
    mouse.y = - ( event.clientY / window.innerHeight ) * 2 + 1;
}
Next, let’s use our Raycaster to detect if some objects in the clickableObjs list are targeted :
function onMouseDown(event)
{
    [...]

    // Checking if the mouse projection is targeting a valid block in the clickableObjs array
    raycaster.setFromCamera( mouse, camera );
    var intersects = raycaster.intersectObjects( clickableObjs ); // get the list of targetable objects currently intersecting with raycaster
}
If at least one element of clickableObjs is targeted by the trajectory of the Raycaster, we base ourselves on the first element detected to move our 3D pointer there :
if ( intersects.length > 0 ) // If there is a match mouse/block (if the array is not empty)
{
  var SelectedBloc = intersects[ 0 ].object; // we choose the first targetable element
  cursor_cube.position.set(SelectedBloc.position.x, SelectedBloc.position.y, SelectedBloc.position.z);
  cursor_cube.material.opacity = 0.5;
  cursor_cube.material.emissive.g = 0.5;
}
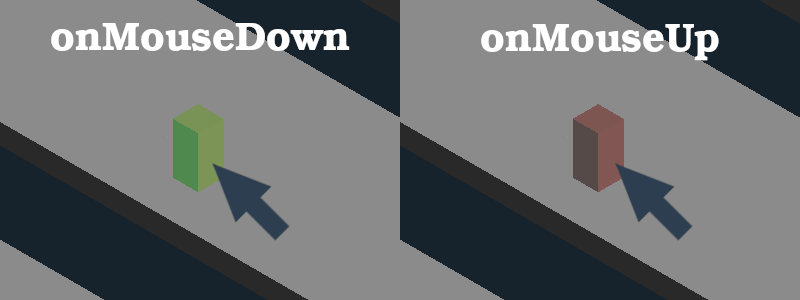
In this case, let’s also define the opacity of our pointer on 0.5 and give it a green color.
However, if no element of the clickableObjs list is targeted, we hide the pointer :
else // no valid block is targeted
{
  cursor_cube.material.opacity = 0;
}
We have finished the onMouseDown function !
Next, in the body of the function onMouseUp, let’s reinitialize the color of our pointer :
function onMouseUp(event)
{
  cursor_cube.material.emissive.g = 0;
}
Final Result
Download the final Code: GitHub.
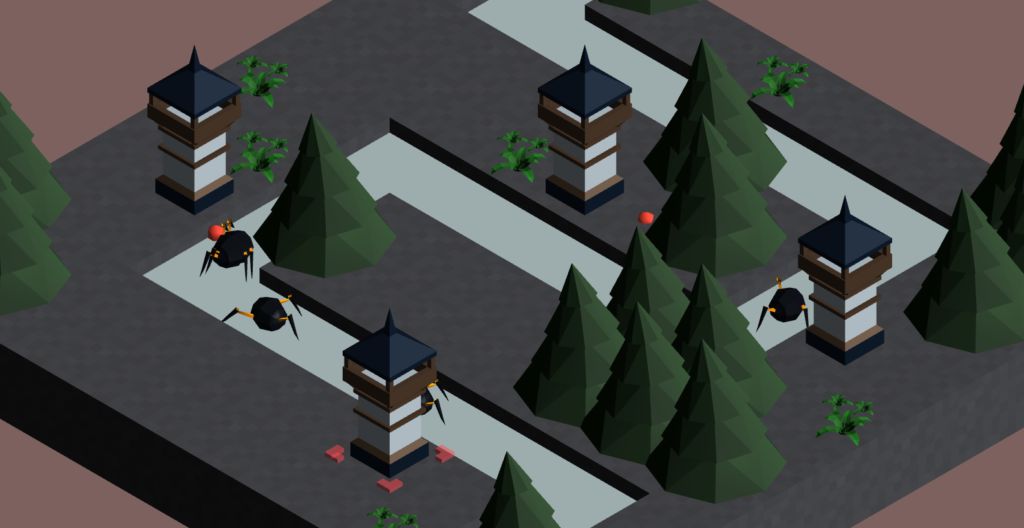
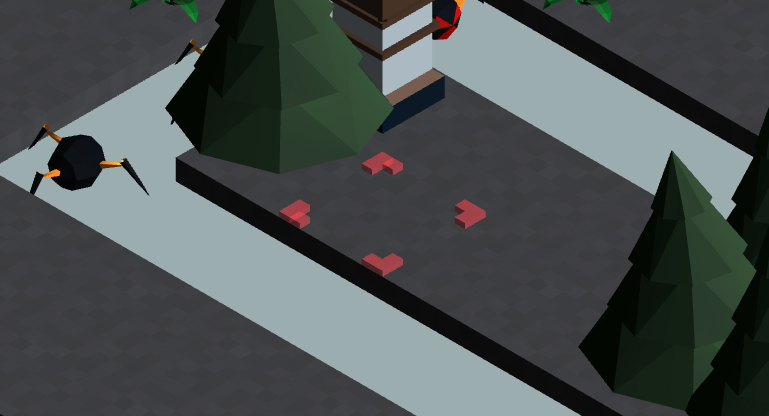
Congratulations, you have arrived at the end of this third part! We are now able to target certain elements of our game map with the help of a click!
Or, if you have opted for the option of importing a 3D cursor from an external file:
In the next part, we will program the dynamic creation of objects (towers) in our scene using the Raycaster!
Just stumbled upon your article, Three.JS is amazing and we have been using it to create some fantastic user engagement and website interactivity. Keep up these great articles, as we need to publicise Three.JS and encourage its inclusion in web design and related fields.
Thanks a lot !